Integrations
Bubble
Integrate Stripe Checkout with Bubble using PriceWell

This page will walk you through integrating both the Pricing Page and Customer Portal with Bubble. Without configuring Webhooks this will save you many hours compared to other methods. This really is the fastest way to integrate Stripe with Bubble.io.
We’ll go through:
- Installing the PriceWell Bubble Plugin
- Using the Pricing Page and Customer Portal components
- Sync subscription data from Stripe to Bubble
- Displaying the Customer Portal once a user has a subscription.
If you want to sync checkout purchase history instead of subscription data, see our guide: Sync Checkout Purchase History.
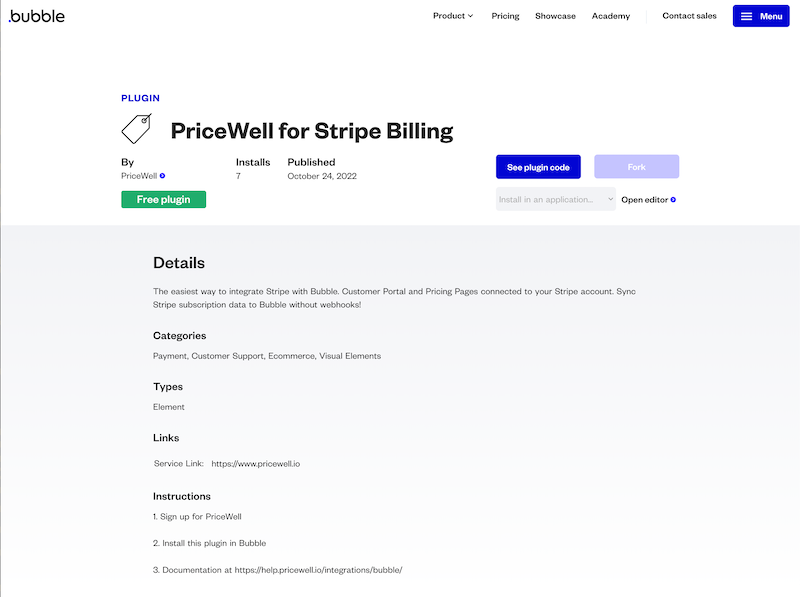
Install the PriceWell Bubble Plugin
Go to the PriceWell Bubble Plugin page and click “Install Plugin”
Step 1: Create a Pricing Page and Customer Portal
See detailed instructions below:
How to create a Customer Portal
Step 2: Embed the Pricing Page in Bubble
Open the page you want to embed your pricing (this is usually a page where the user is already logged in like a Billing Admin page).
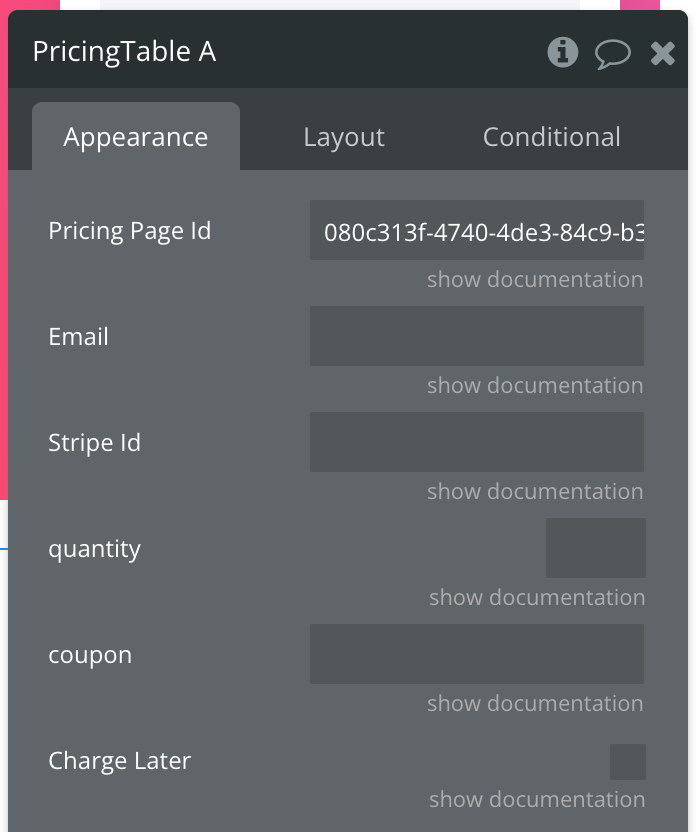
Add a new Pricing Table element.
If you can’t see this element, make sure you have the PriceWell plugin installed.
Copy the Pricing Page ID from the Pricing Page you created in Step 1.
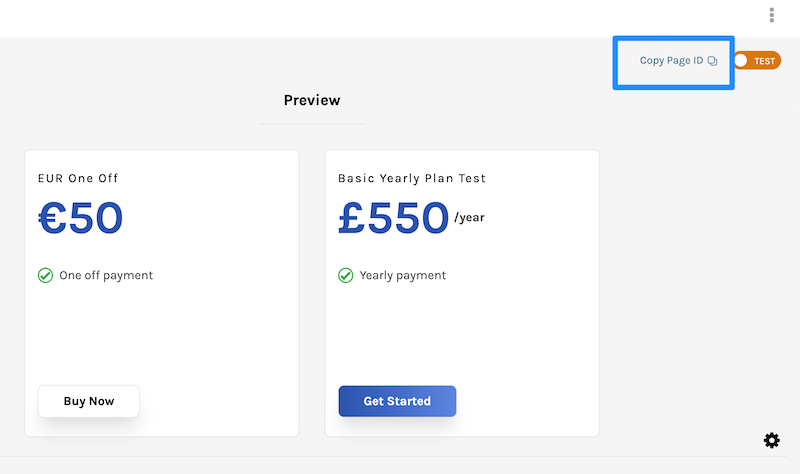
Paste the Pricing Page ID into the Pricing Page Id field.
If you know the customers email address or Stripe Customer Id, you can pass it in as a parameter. This will pre-fill the email field on the pricing page.
You can also pre-apply coupon codes here by passing in the coupon code as a parameter.
Sync subscription data from Stripe to Bubble
Enable the Data APID
Go to Settings -> API
- Enable Data API
- Check “User” (this gives us access to the user data fields that you allow in the next step)
- Use field display instead of ID for key names
⚠️ Be sure to check Use field display instead of ID for key names |
|---|
Add data fields
In your Bubble App go to Data -> Data types -> User
Create the following new fields on the User data type:
| Name | Type |
|---|---|
| StripeId | text |
| StripeSubscriptionId | text |
| StripeSubscriptionPeriodEnd | date |
| StripeSubscriptionPriceId | text |
| StripeSubscriptionStatus | text |
View a list of subscription statuses
| ⚠️ You must create all the fields or the integration won’t work |
|---|
Syncing Custom Fields (optional)
The fields above are required for the integration to work. You can also sync any additional fields you require (e.g. subscription quantity) by clicking “Add Custom Field”.
Now go to Settings -> API -> Generate new API token. Copy the API token
Go to PriceWell.io, login and click Integrations -> Bubble Integration.
Paste the API token into the Bubble API Token field. Then enter you Bubble App Name and click Save. You bubble app name will look something like this https://YOUR_APP.bubbleapps.io.
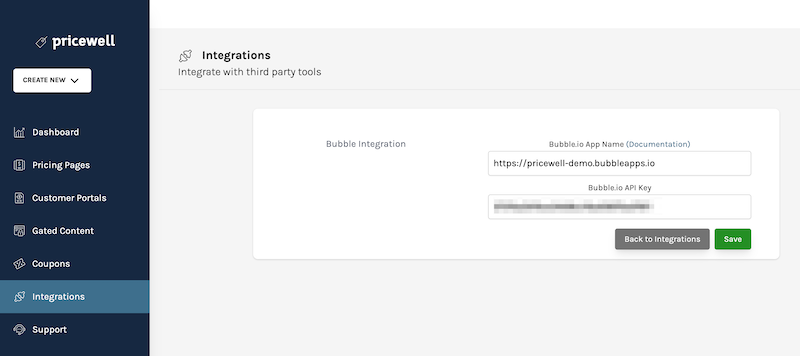
If the integration fails to save, double check your API token and app name.
✨ Stripe subscription changes will appear in Bubble automatically ✨
| ⚠️ Changes in your Stripe Test Mode will go to /version-test in Bubble. Live Stripe subscriptions will go to you live Bubble app |
|---|
How to make the Customer Portal show when the User has a Subscription
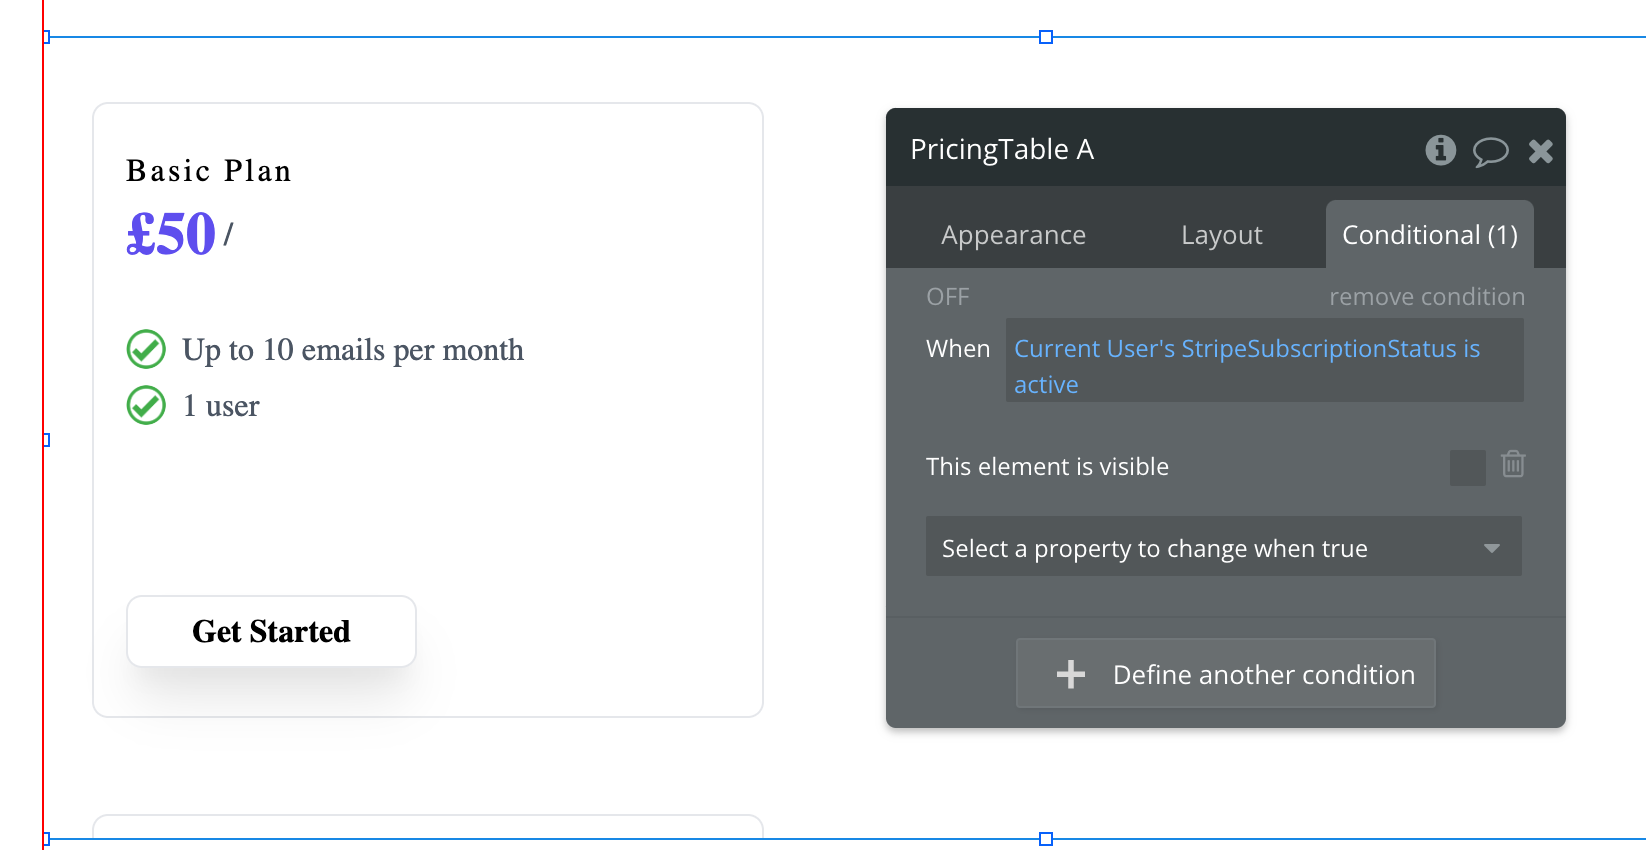
Head back to the page in bubble that has the Pricing Table element on it.
Now add a Conditional step so that the element is only visible when the Current User’s Stripe Subscription Status is not “active”.
Copy the Customer Portal Id from the Customer Portal (on PriceWell.io) you created in Step 1.
Add a Customer Portal element to the page and paste the Customer Portal Id into the Customer Portal Id field. You should also pass in the Stripe Customer Id or email as a parameter (Current User’s Stripe Id).
Add a conditional step so that the Customer Portal is only visible when the Current User’s Stripe Subscription Status is “active”.
✨ The Customer Portal will now show when the user has an active subscription and if not the Pricing Table will show. ✨
(Optional) Enabling Secure Mode
Display Pricing on your Landing Page
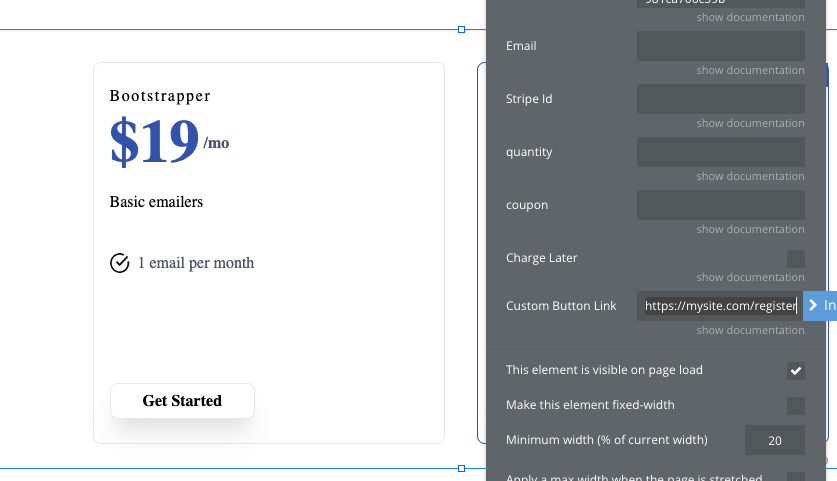
Many subscription products display their pricing table on the landing page but require the customer to register an account before subscribing to a plan. To do this, you can use the “Custom Button Link” feature of the plugin.
Add a Pricing Table component to your landing page and paste the pricing page id as before. This time add a url to the Custom Button Link field (e.g. https://yoursite.com/register). This will make all the buttons on the pricing page act as links. Instead of taking the customer to check out, they will be sent to the link you defined.
Once a customer has registered, if you require payment before they can use your app, you can display another pricing table (this time without the custom button link).