Faq
Accepting 100% discount coupons with Stripe
A guide on how to accept 100% discount coupons without requiring credit cards - AppSumo - Checkout - Coupons - discount

Accepting 100% discount codes with Stripe Checkout
The Stripe Checkout always requires a working credit card to accept discount codes. This means you must require a payment method even if you are offering a 100% discount coupon (like a Lifetime Deal or 1 year free). You might want this option if your want to guarantee that you have a credit card to charge after the discount is over. On the other hand, requiring credit cards will severely affect conversion rates.

Accepting 100% discount codes with Stripe Customer Portal
The Stripe Billing Customer Portal allows a customer to switch plans (prices) without requiring them to enter a credit card. This means you can avoid requesting a payment method altogether. Especially useful if you’ve offered a Lifetime Deal but want to offer upsells in the future. Or if you are offering a 1 year discount but don’t want to worry about collecting payment until that deal is finished.
The only requirement in order to set this up is you must have an existing customer in Stripe. The flow goes like this:
-
Customer signs up to your service (you collect and email address)
-
Create a Stripe Customer with that email address and sign them up to a completely free subscription
-
Send customer to the Stripe Customer Portal (using PriceWell’s no-code integration) where they can input their discount code in exchange for a paid plan.
Creating a Stripe Customer without coding
Normally, creating a Stripe Customer requires coding. But with some No Code tooling we can do all the dirty worth without writing a single line of code ourselves.
Use Zapier
Using Zapier we can connect Stripe and a huge number of tools. We want to create a new Stripe Customer when someone signs up to our service. An example: create a new Stripe Customer when someone signs up to our WordPress site.

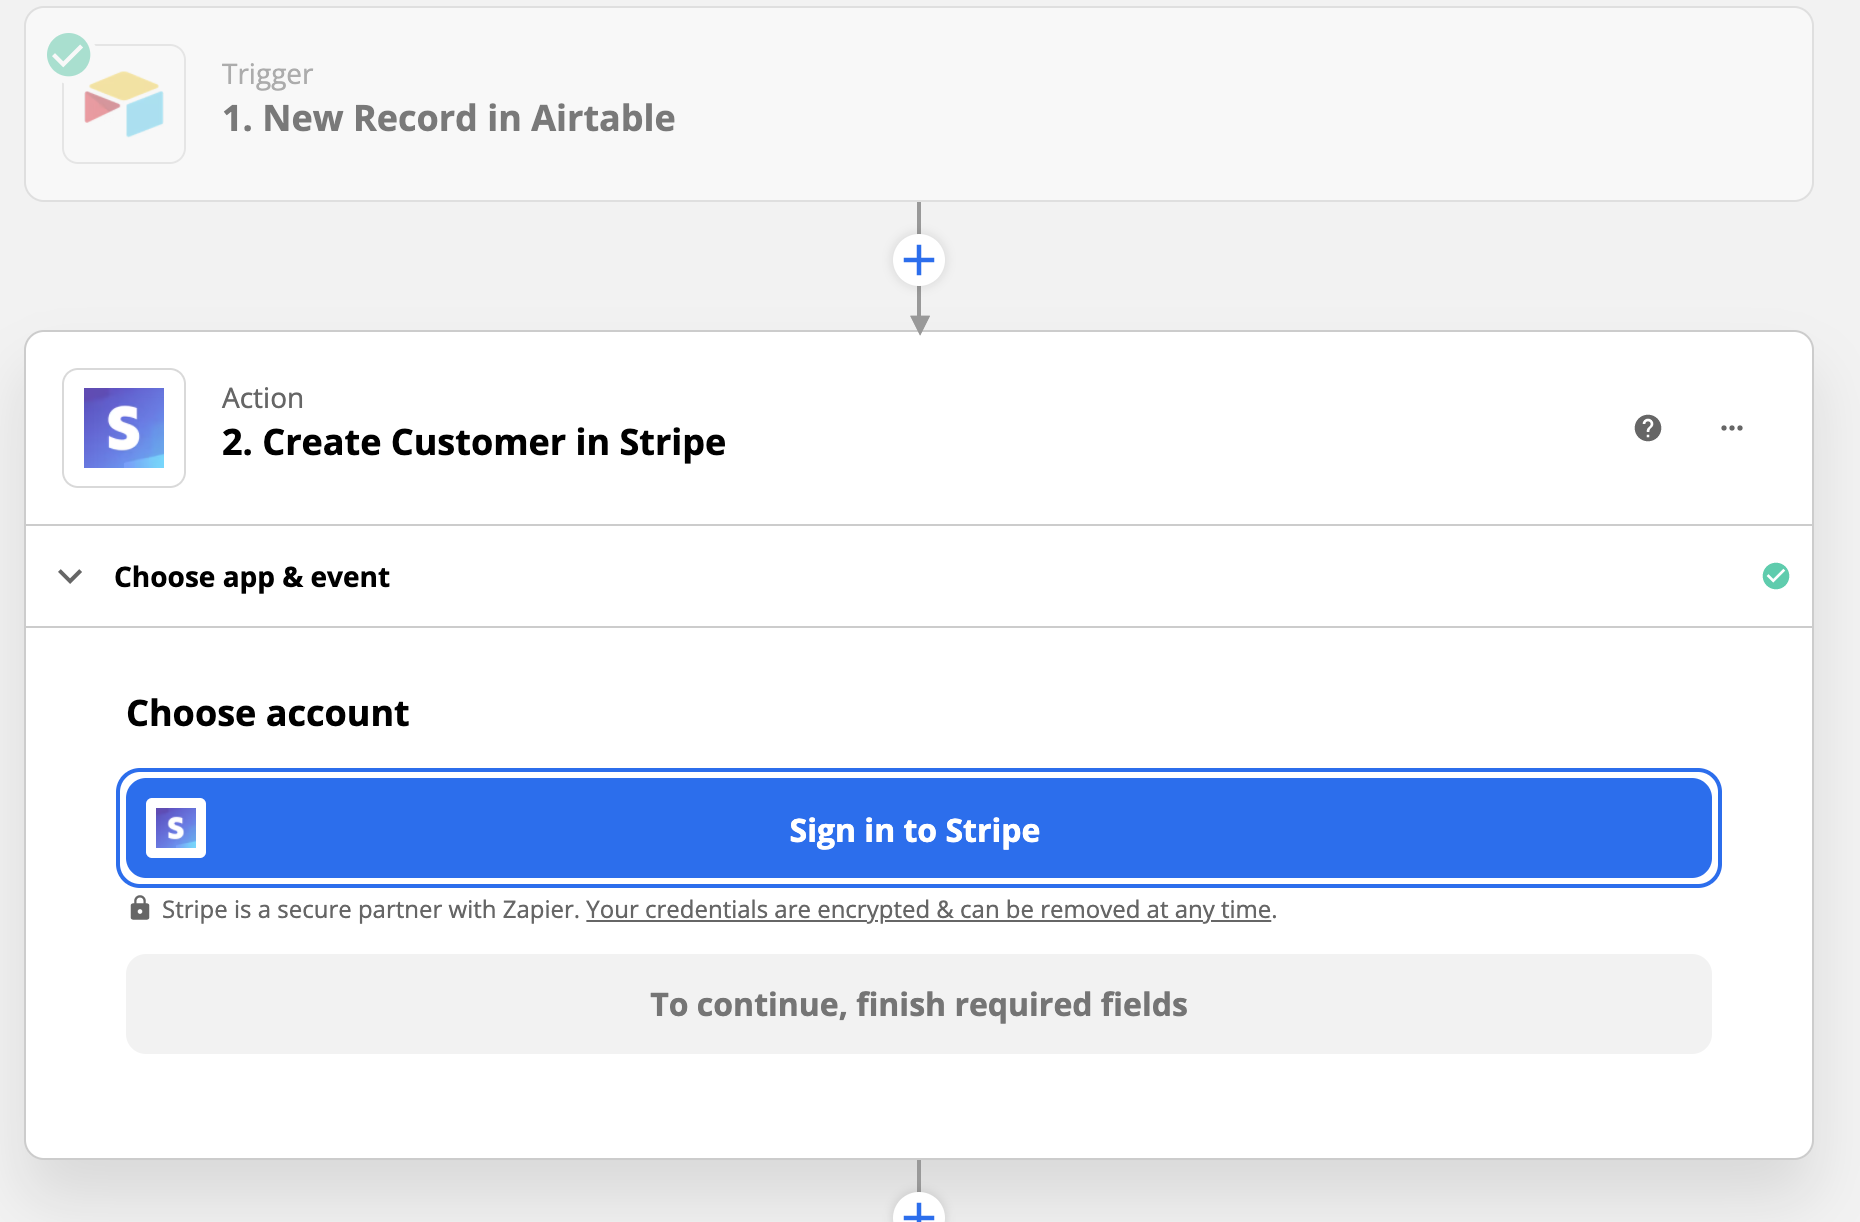
Connect your Stripe account

The first step is connectinng a Stripe account. You can create a restricted key for this if you don’t want to give Zapier full access to your account.

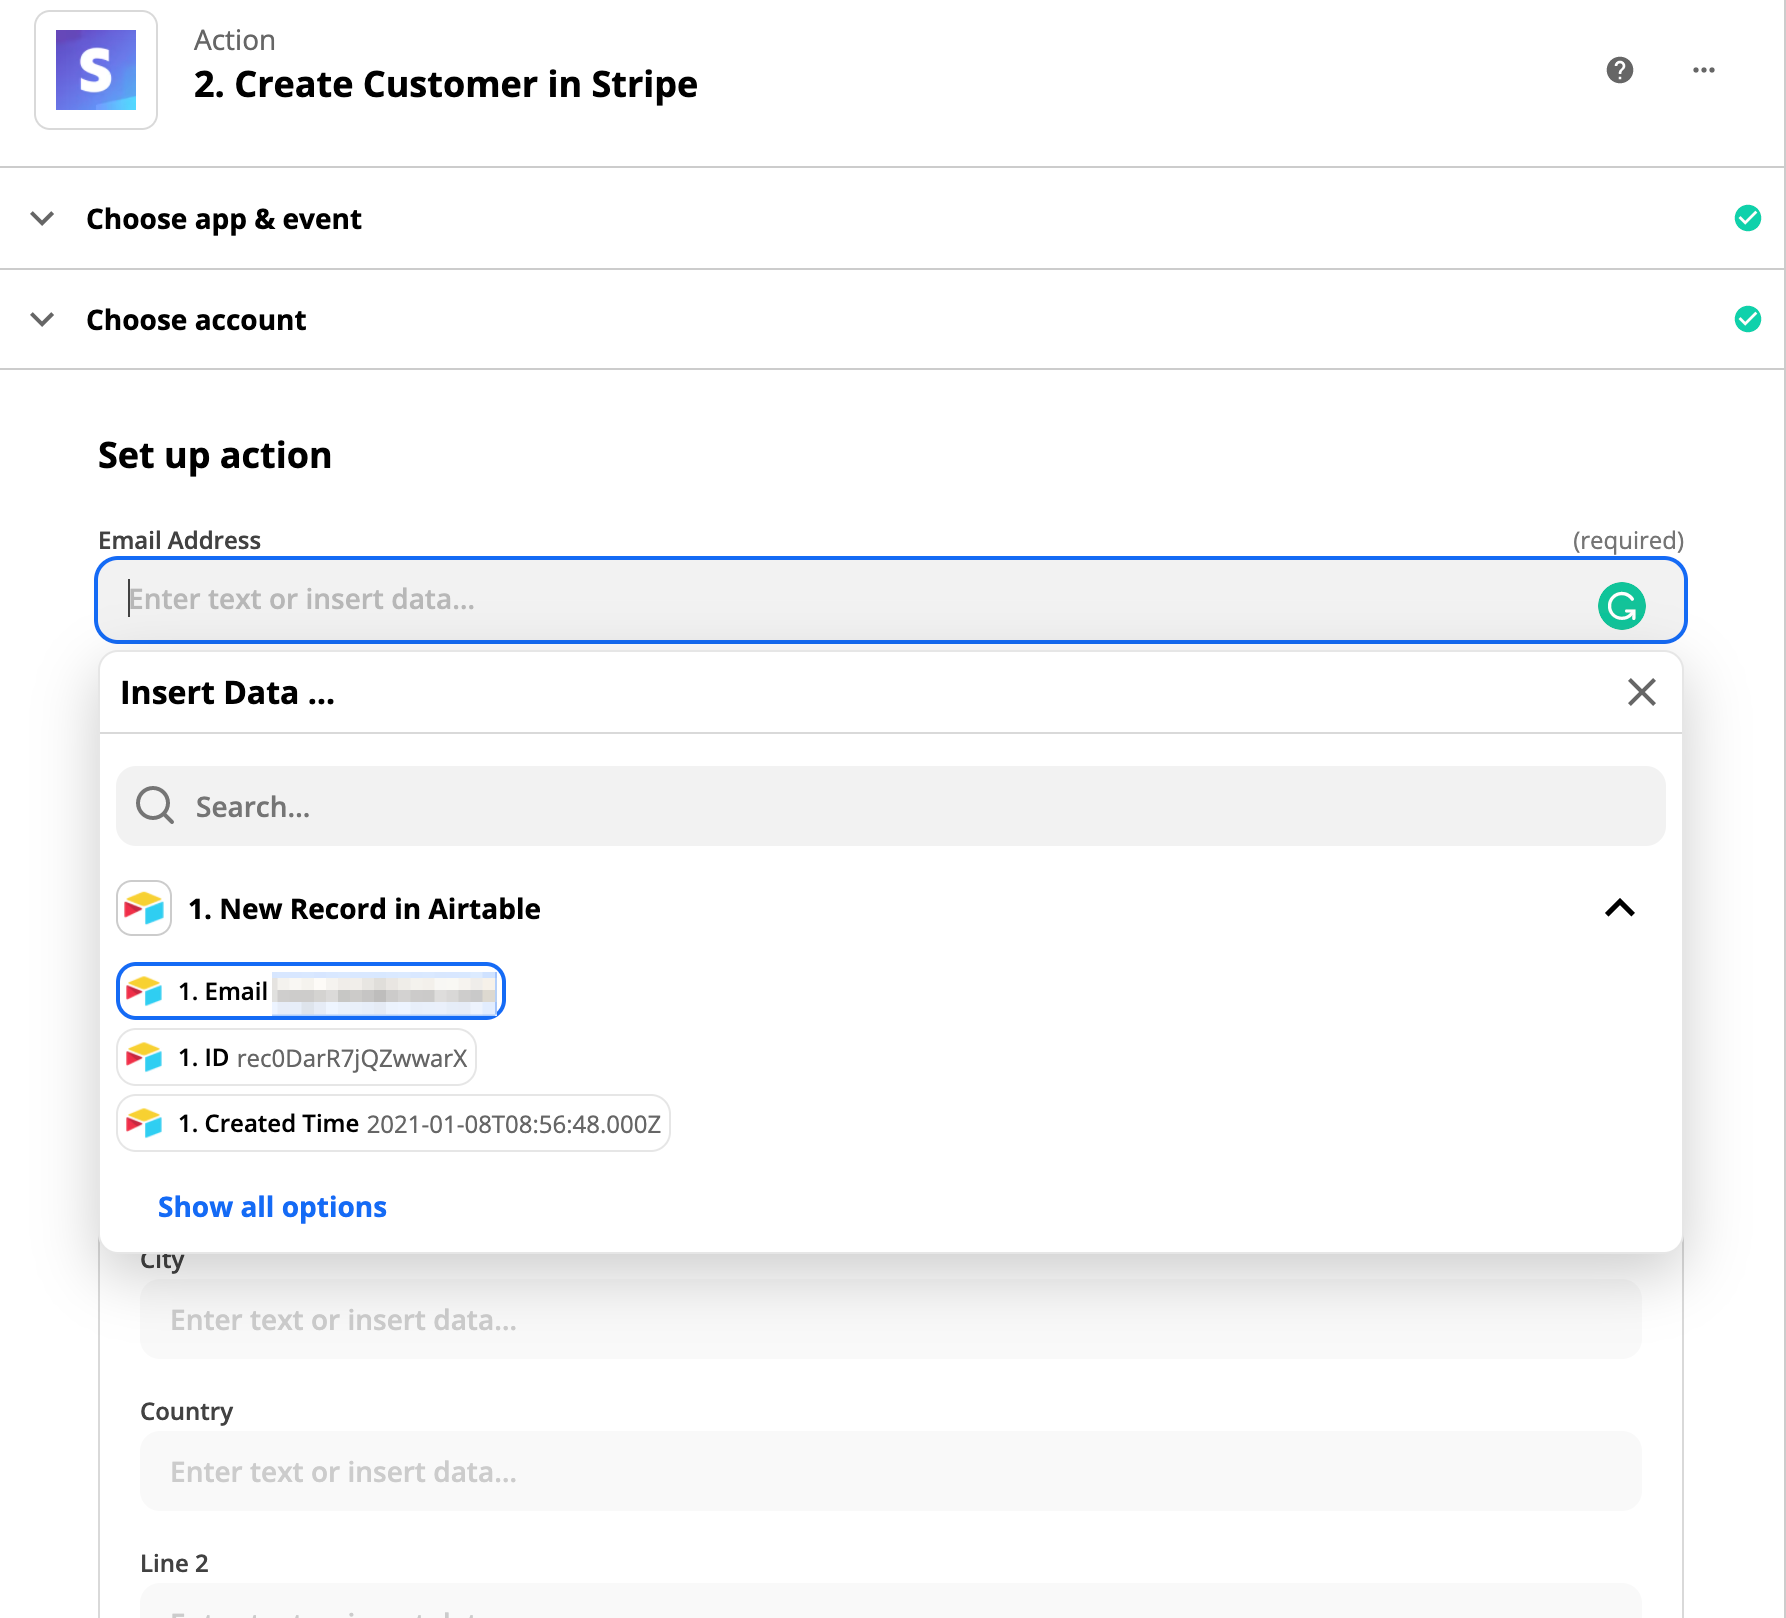
Create a “Create Stripe Customer” Zapier action
Once you have your trigger set up (this can be anything as long as it has an email address attached), you can create an action to set up the Stripe Customer.

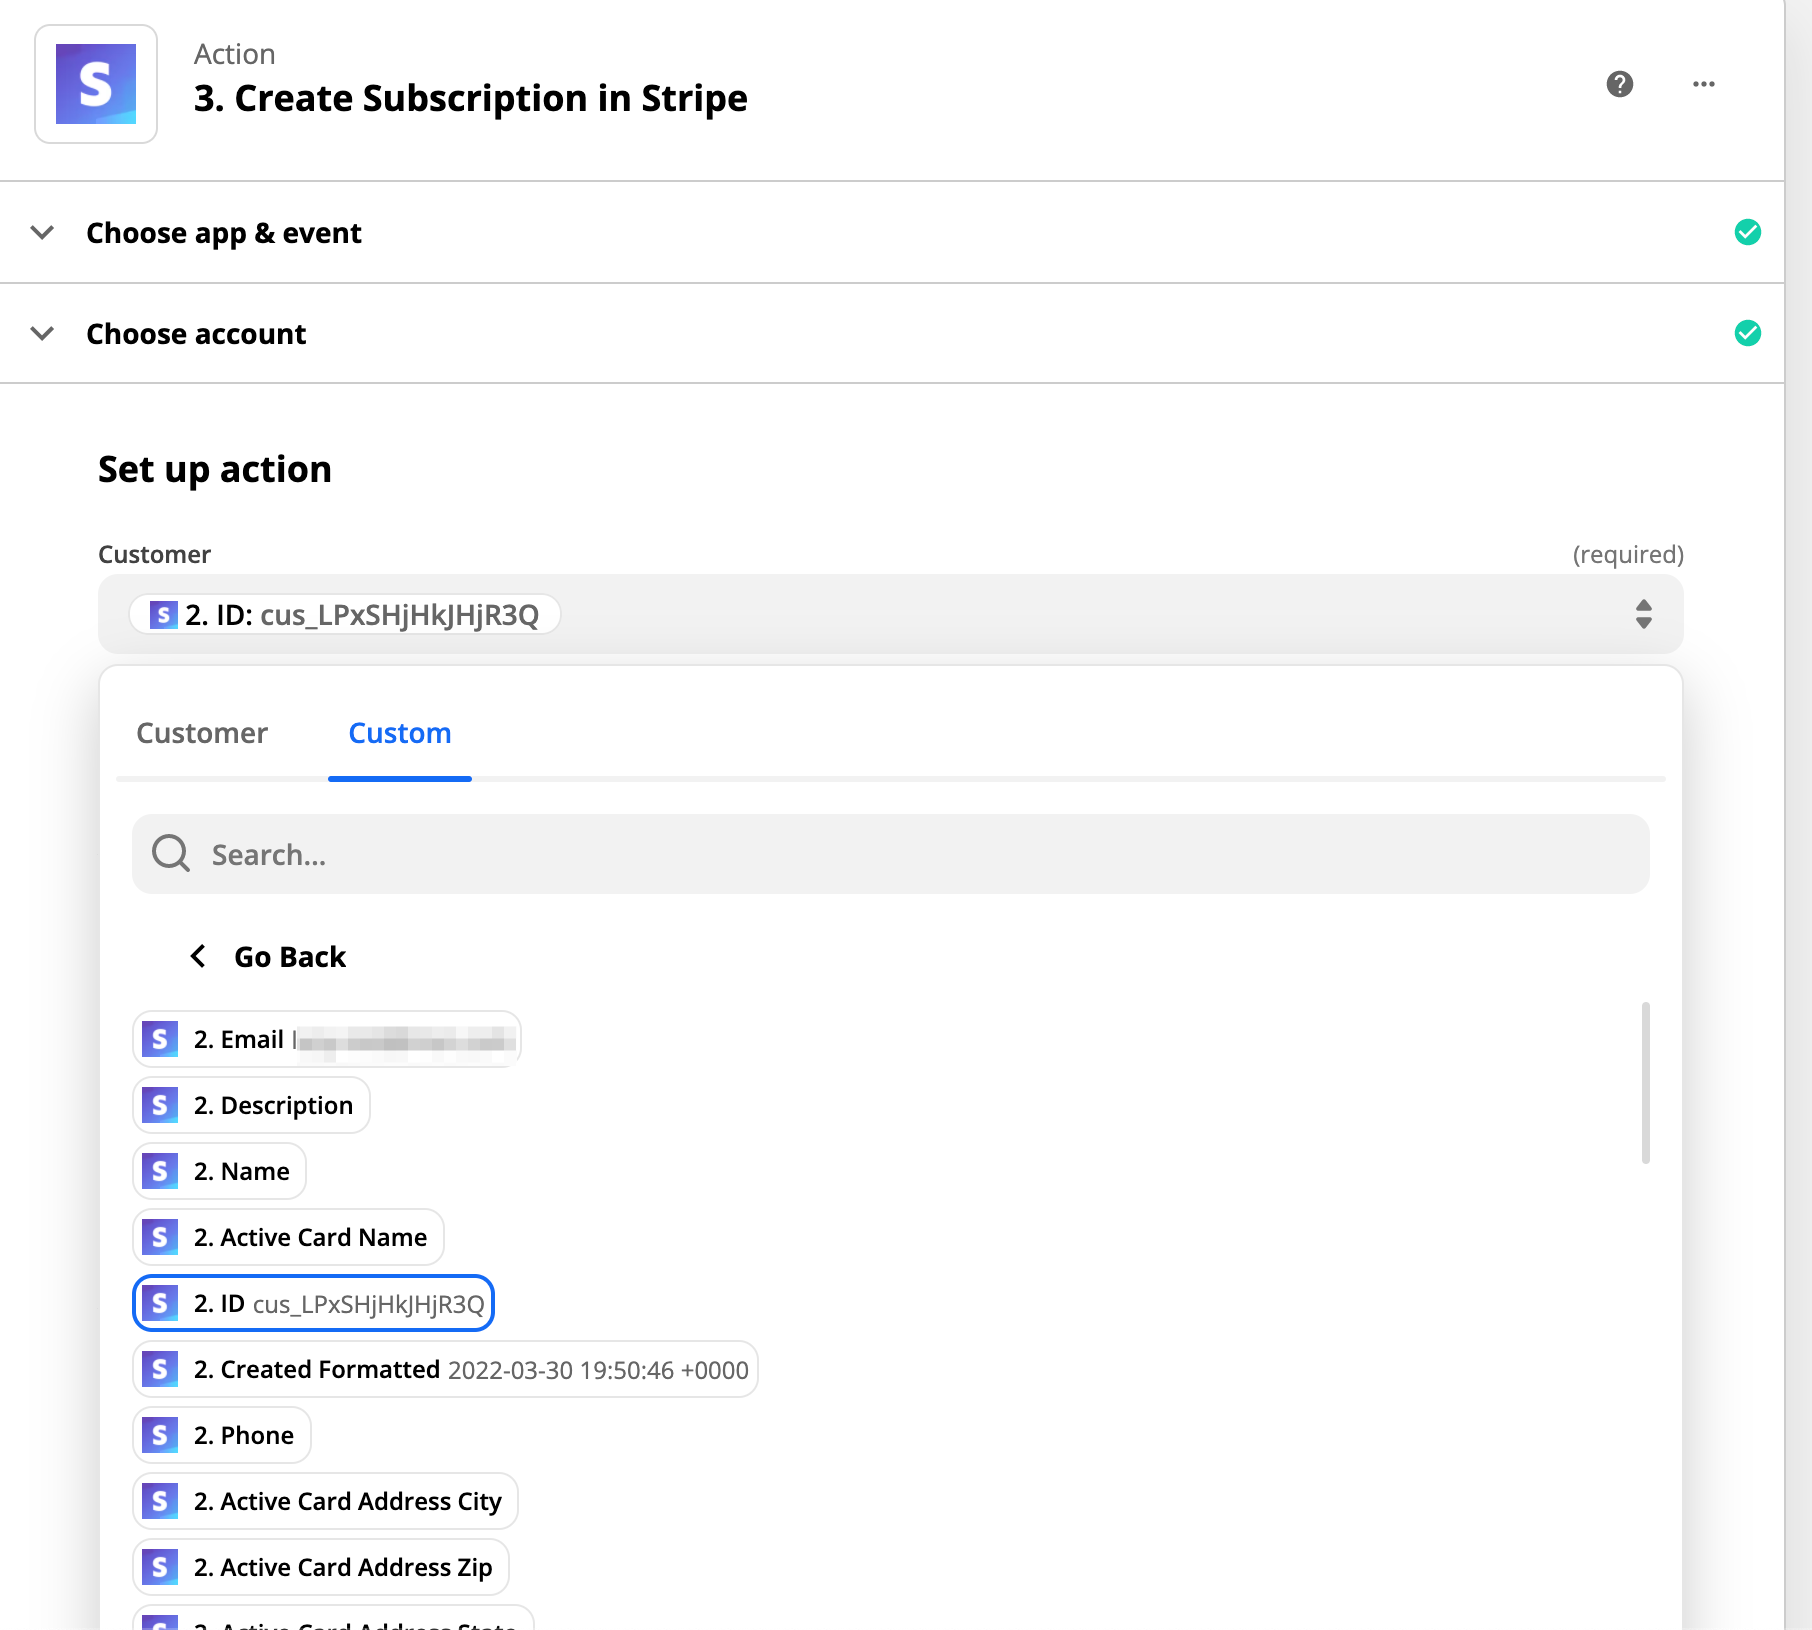
Sign the customer up to a free plan
The last step is to create a Subscription for that customer, so we can send them to the customer portal. Choose Customer -> Custom and select the “ID” from our previous action (creating the Stripe Customer). Then select the relevant Price from Stripe. You might have to find the right price id from your Stripe Dashboard.

Send them to the Customer Portal
Finally, you can let you customer upgrade their plan using your 100% off discount code. Use the PriceWell magic link to embbed the customer portal into your website without writing any code.